How to Configure Reunification Templates
Use this guide to set up your school’s Reunification template settings before creating a drill or active Reunification Event.
Completing these settings ahead of time helps your school move faster when time matters. Instead of typing locations and messages from scratch, staff can select the right information, review it, and continue through the Reunification setup process.
Before you start
Reunification settings help your school prepare in advance for a drill or active reunification.
In this article, you will set up:
- Your default Reunification template
- Default Reunification locations
- Reusable message templates for staff and parents
Good to know: These settings are meant to reduce typing during a rushed moment. Set them up before they are needed so staff can click through the Reunification Event setup more quickly.
Step 1: Open Reunification settings
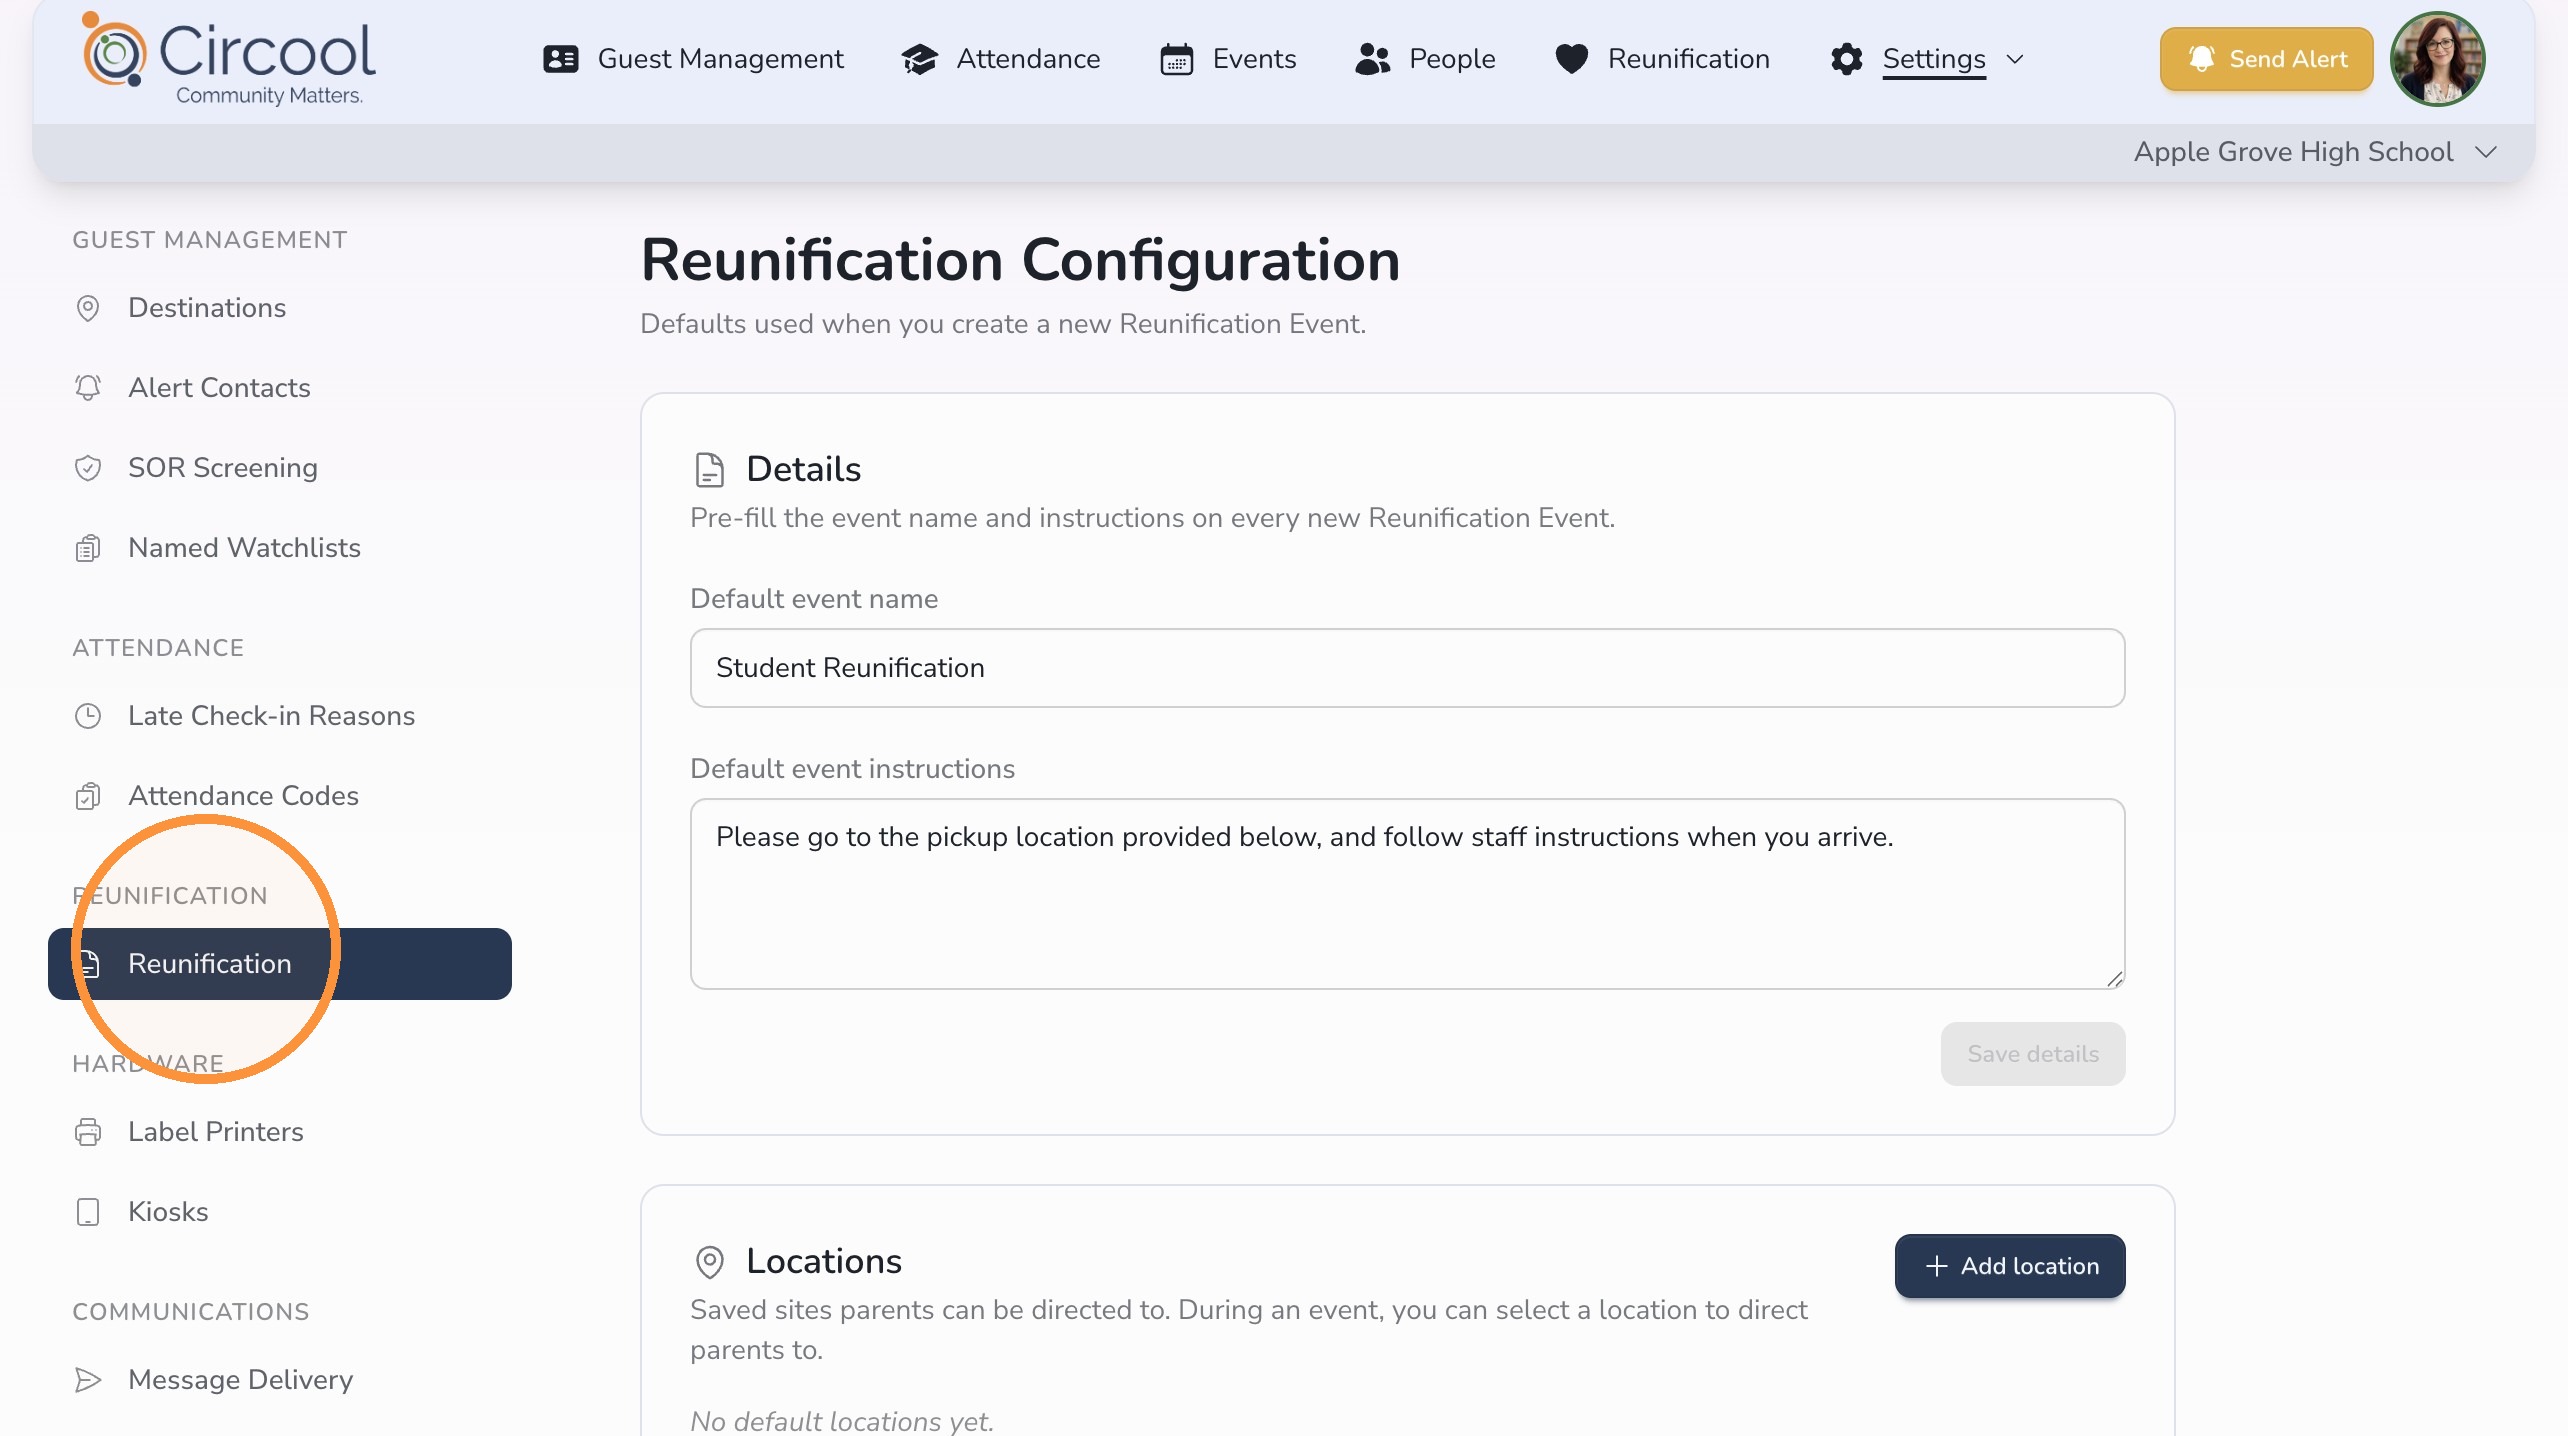
Navigate to Settings, then select Reunification.
Step 2: Add Reunification Details
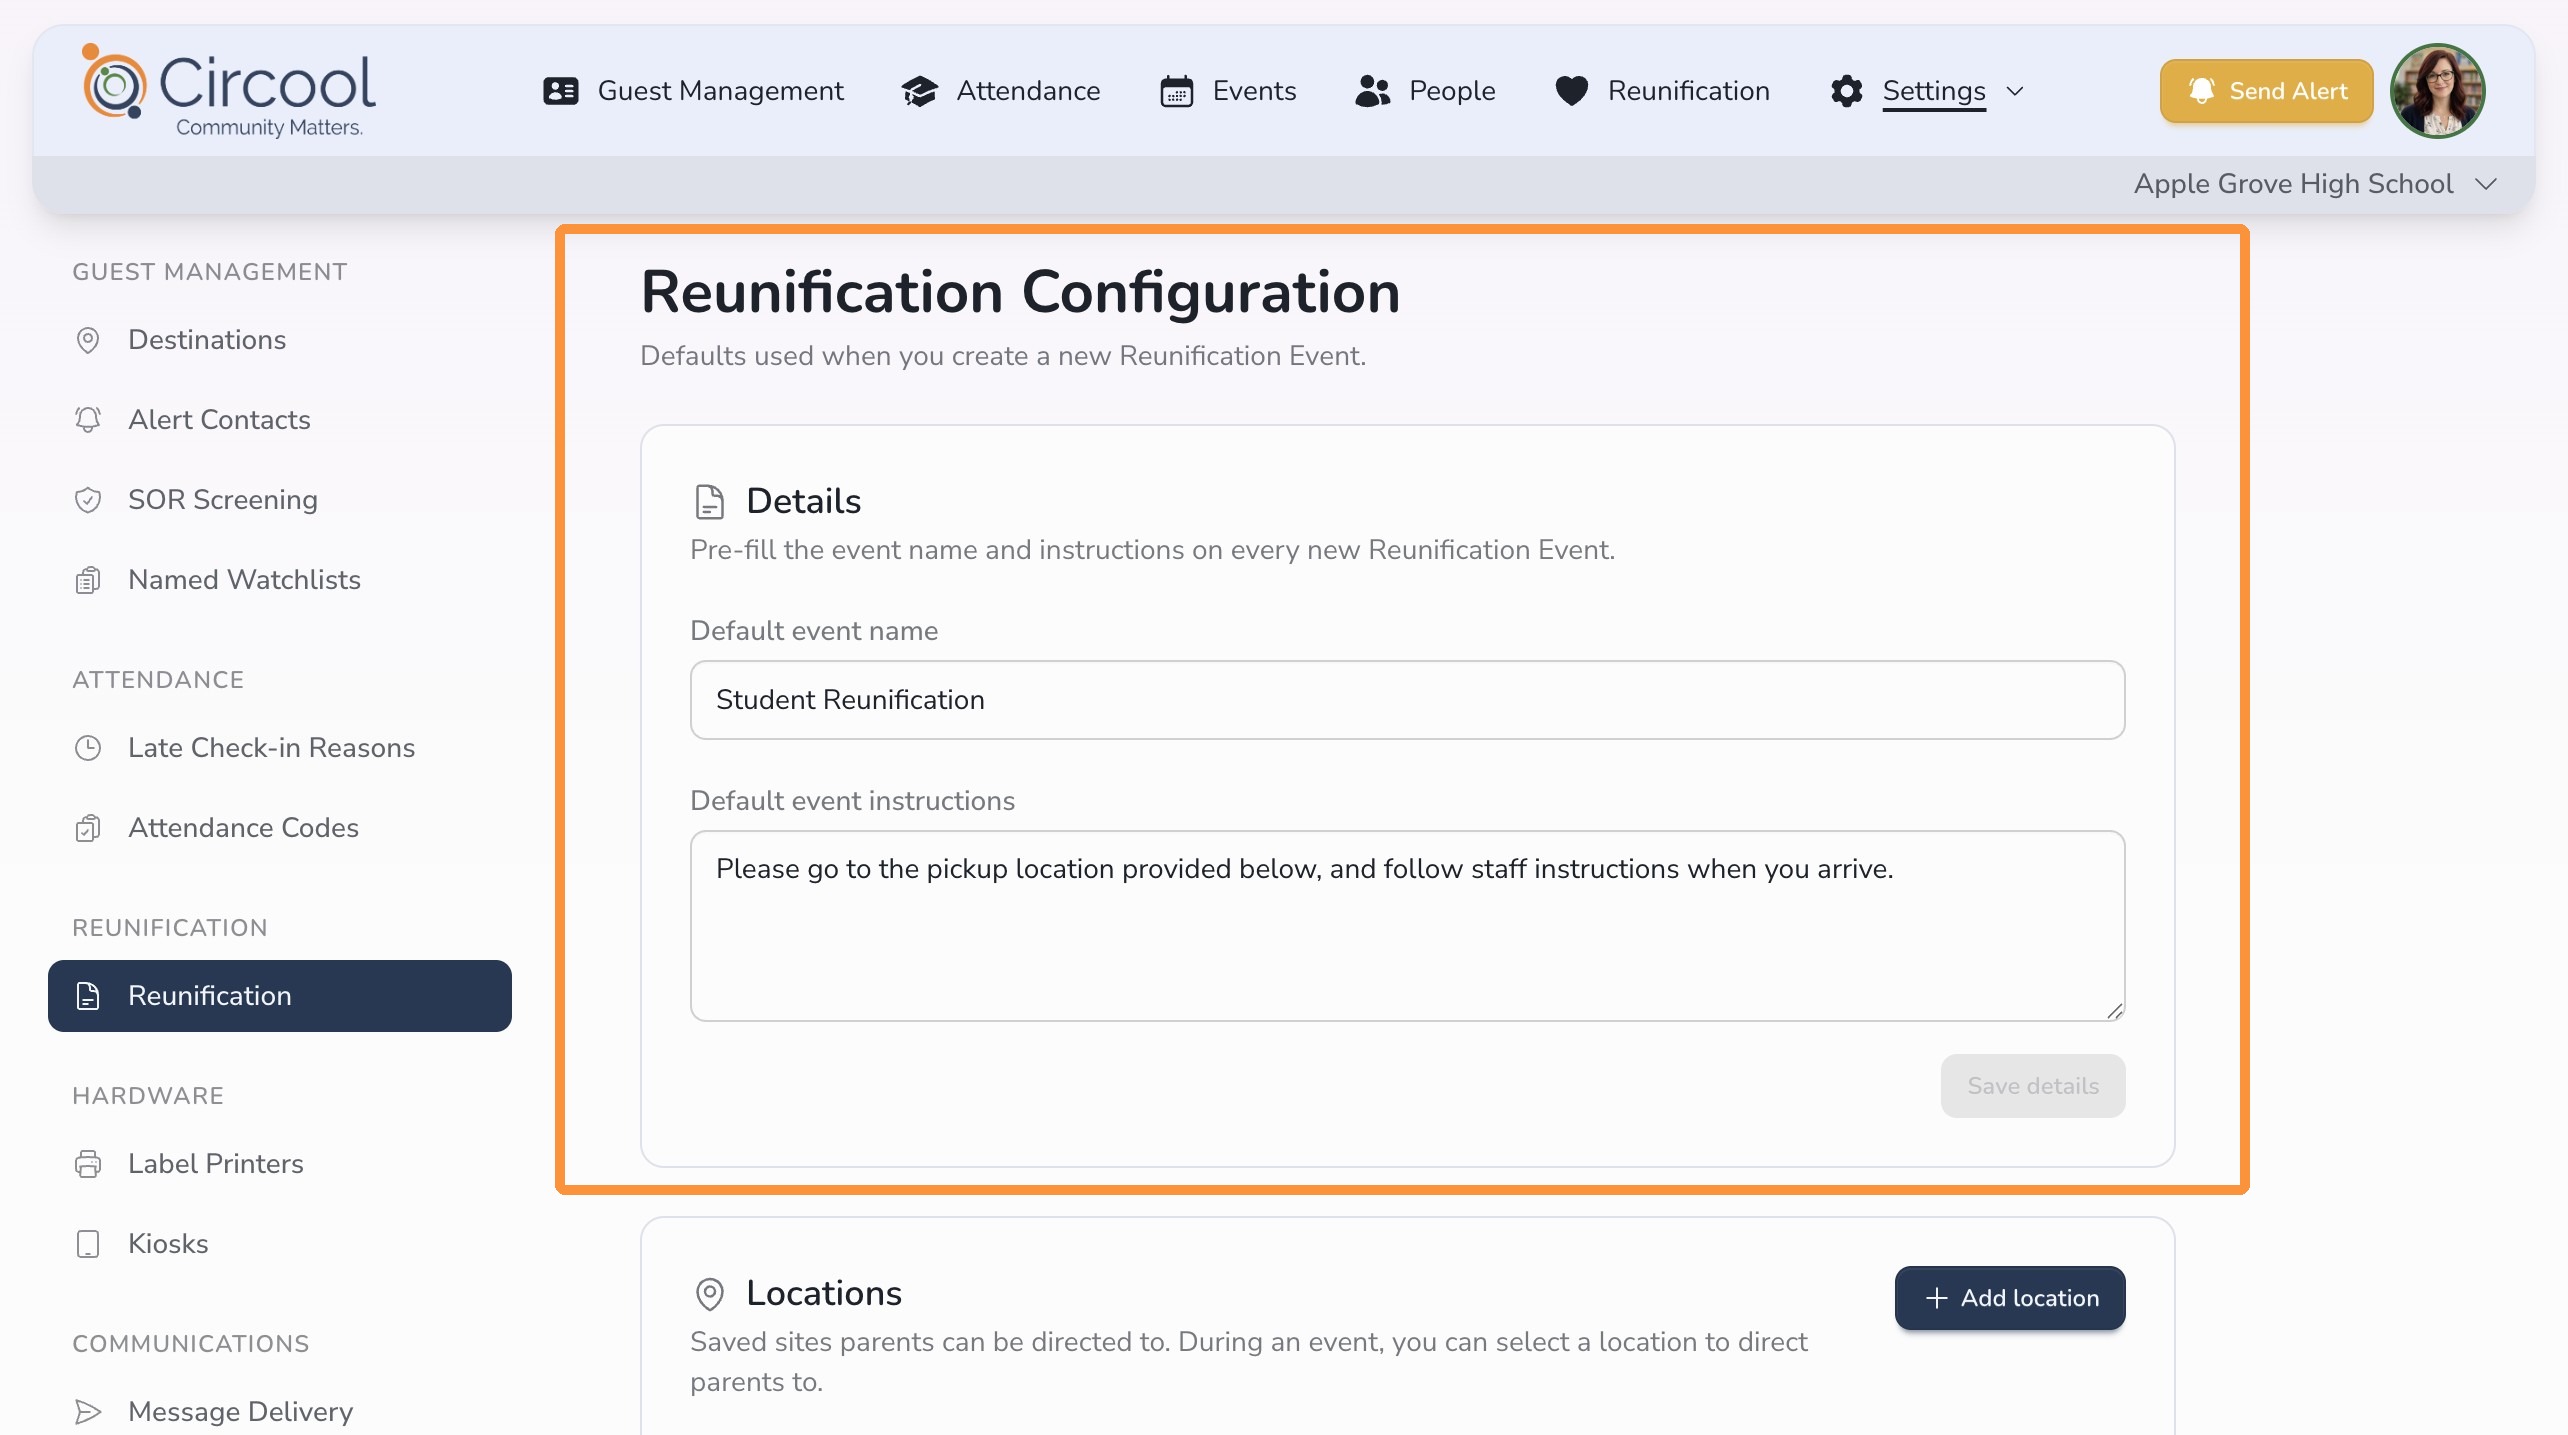
Add your default Reunification Details.
- Default Event Name: this is the title of the Reunification event that your parents will receive. We recommend something generic here.
- Default Event instructions: simple instructions to help parents understand the nature of the event. You do not need to include the date, time, location here. That is done in later steps.
- Click Save.
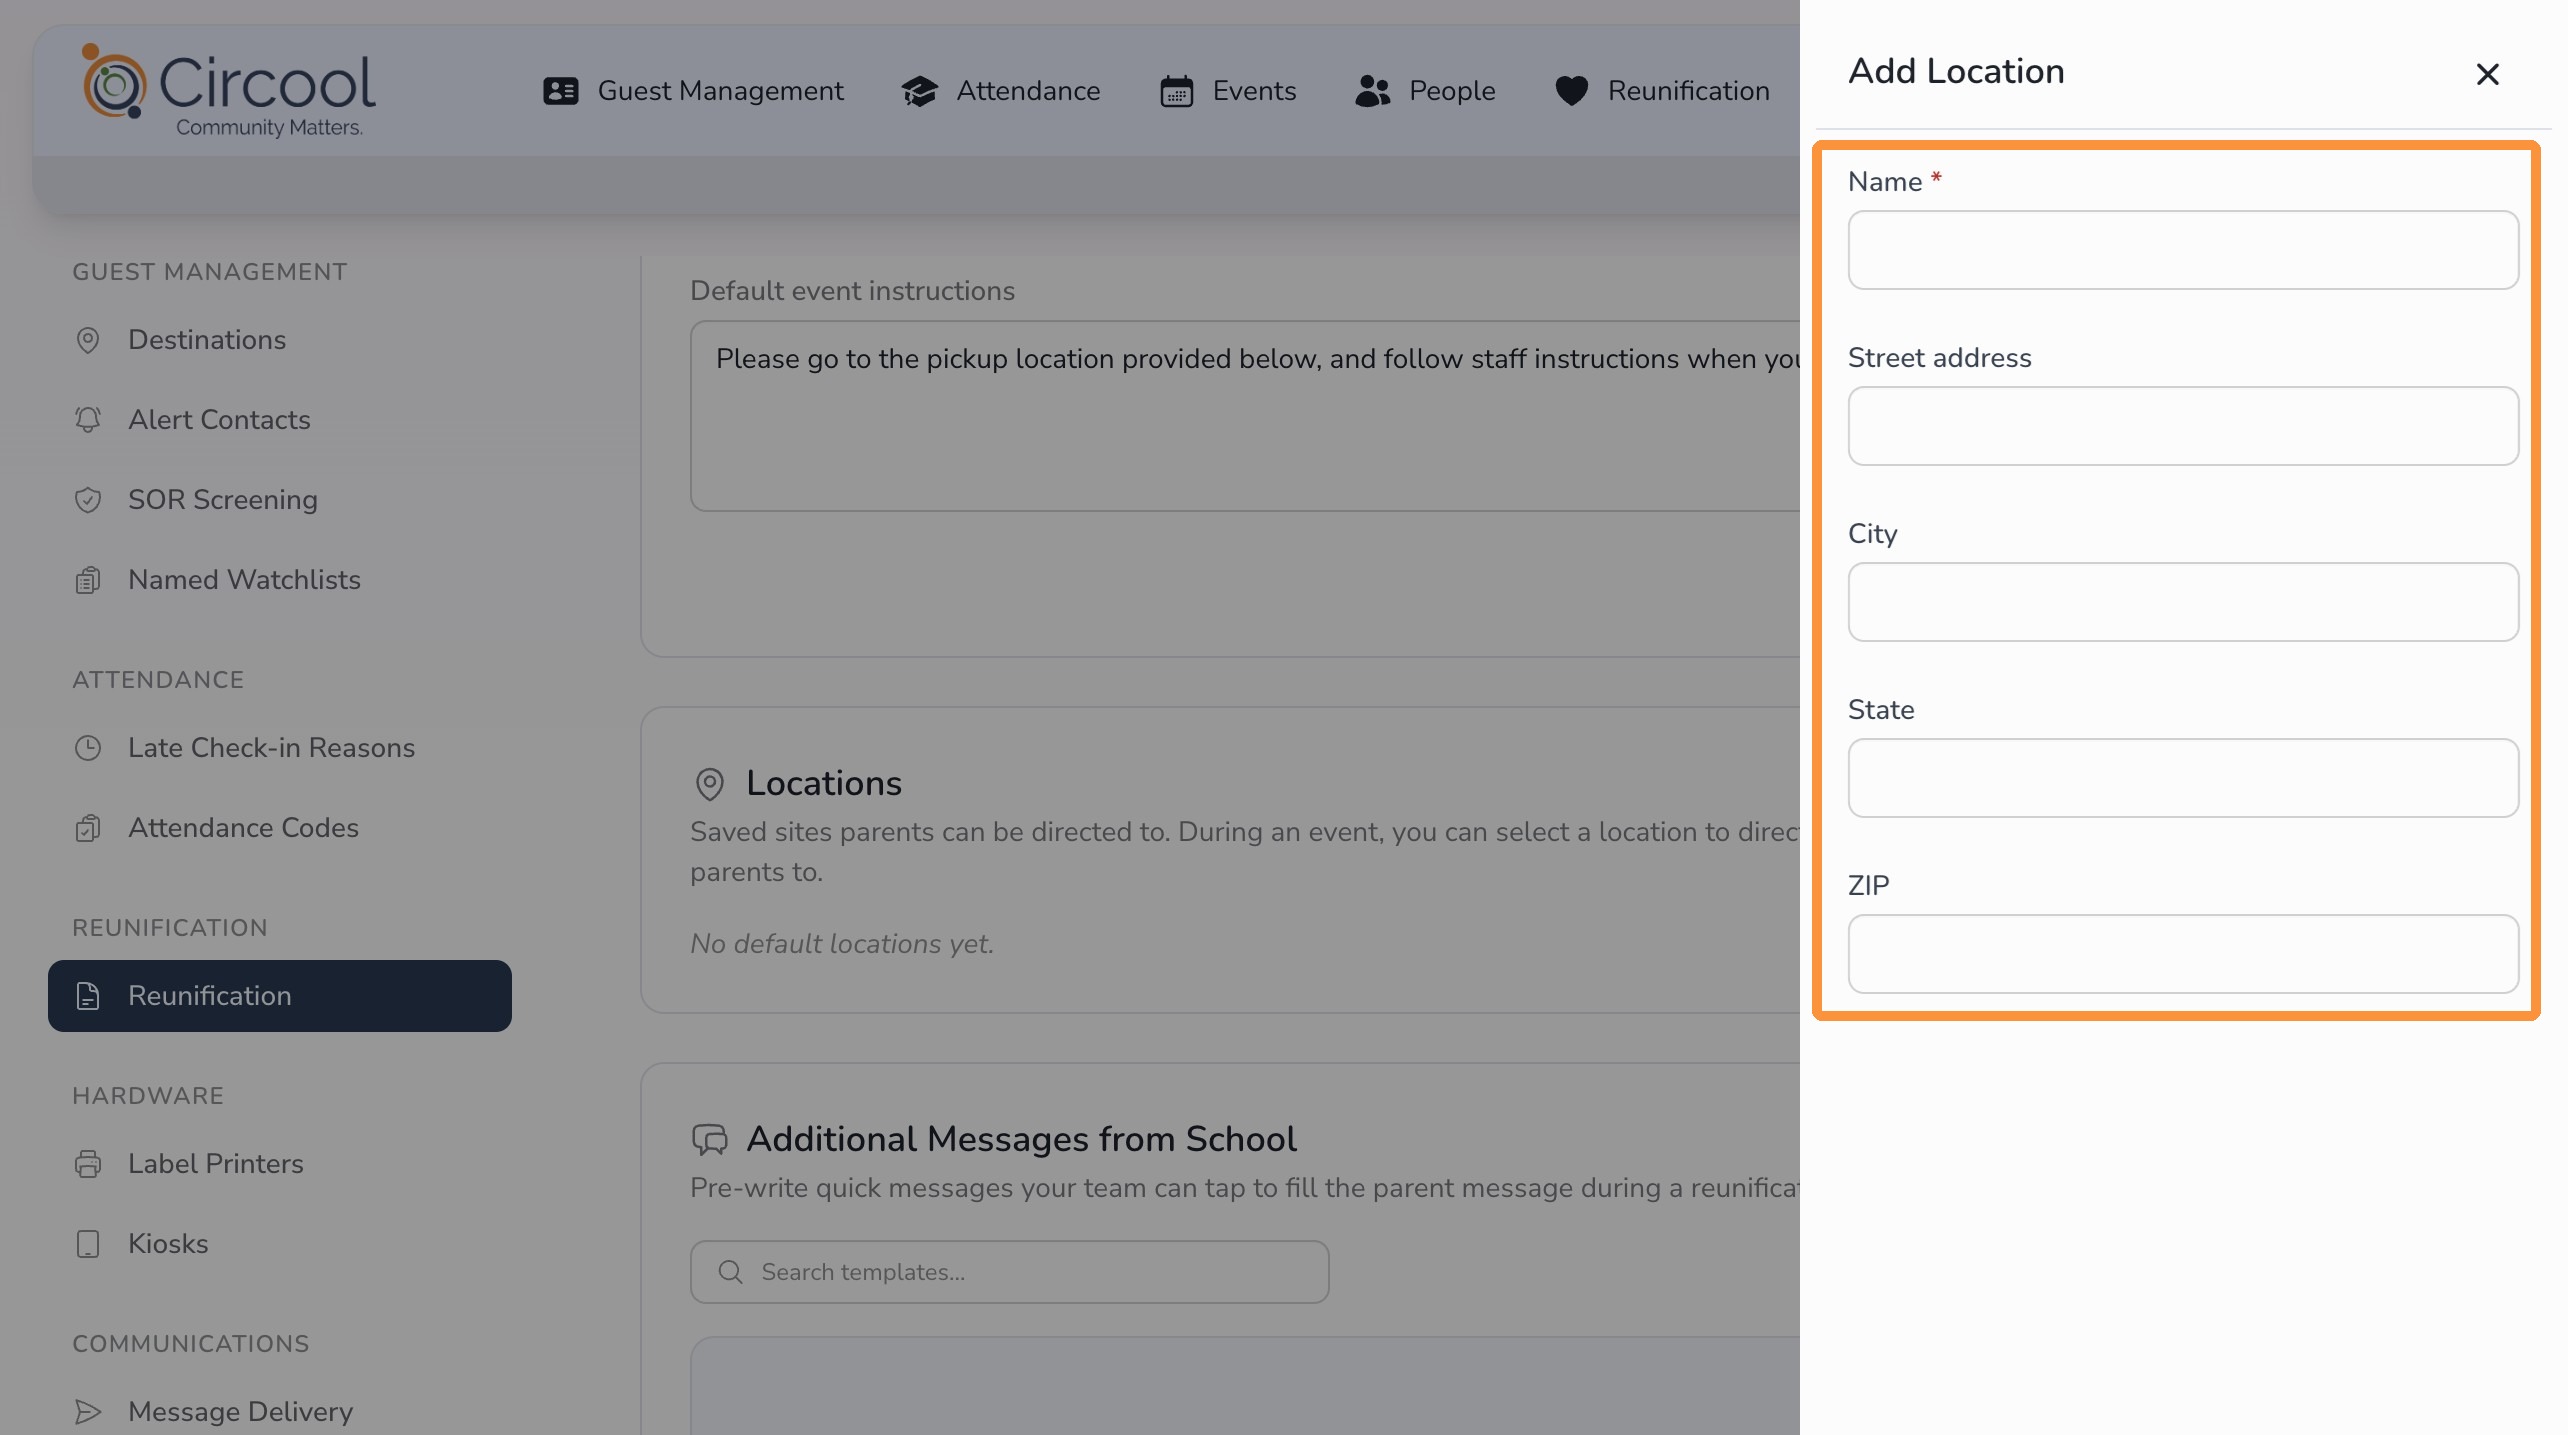
Step 3: Add Reunification locations
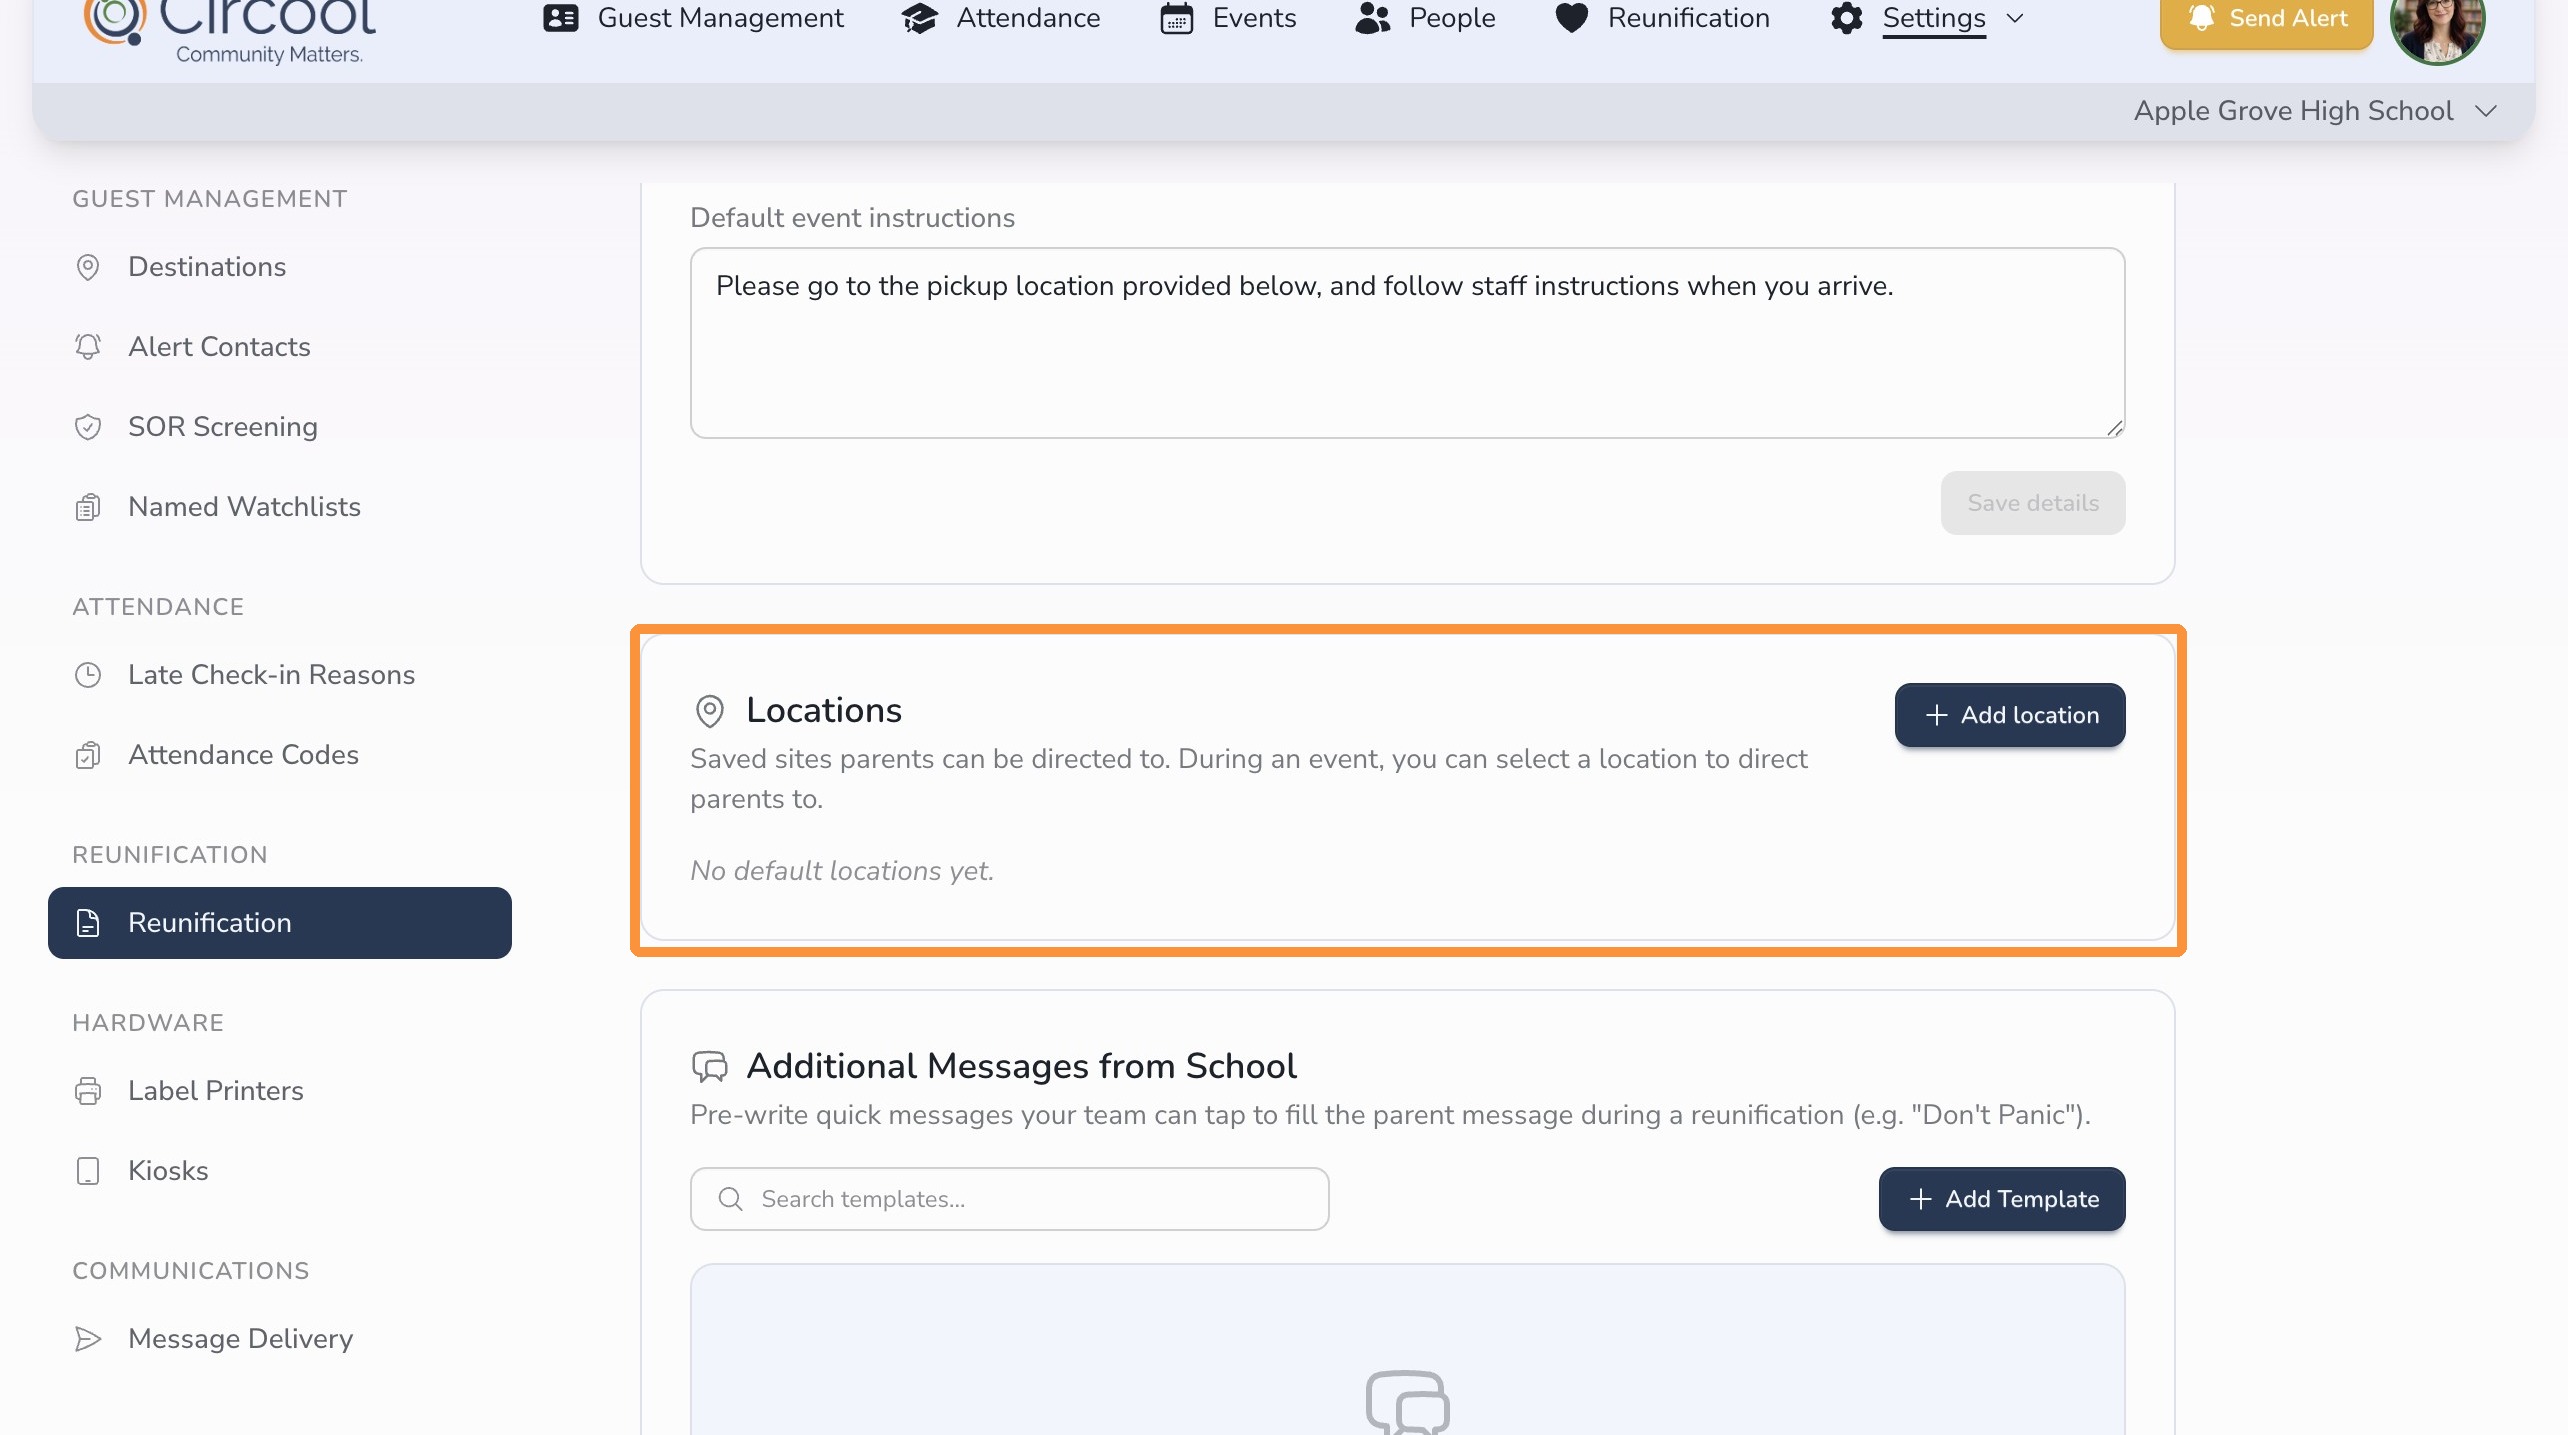
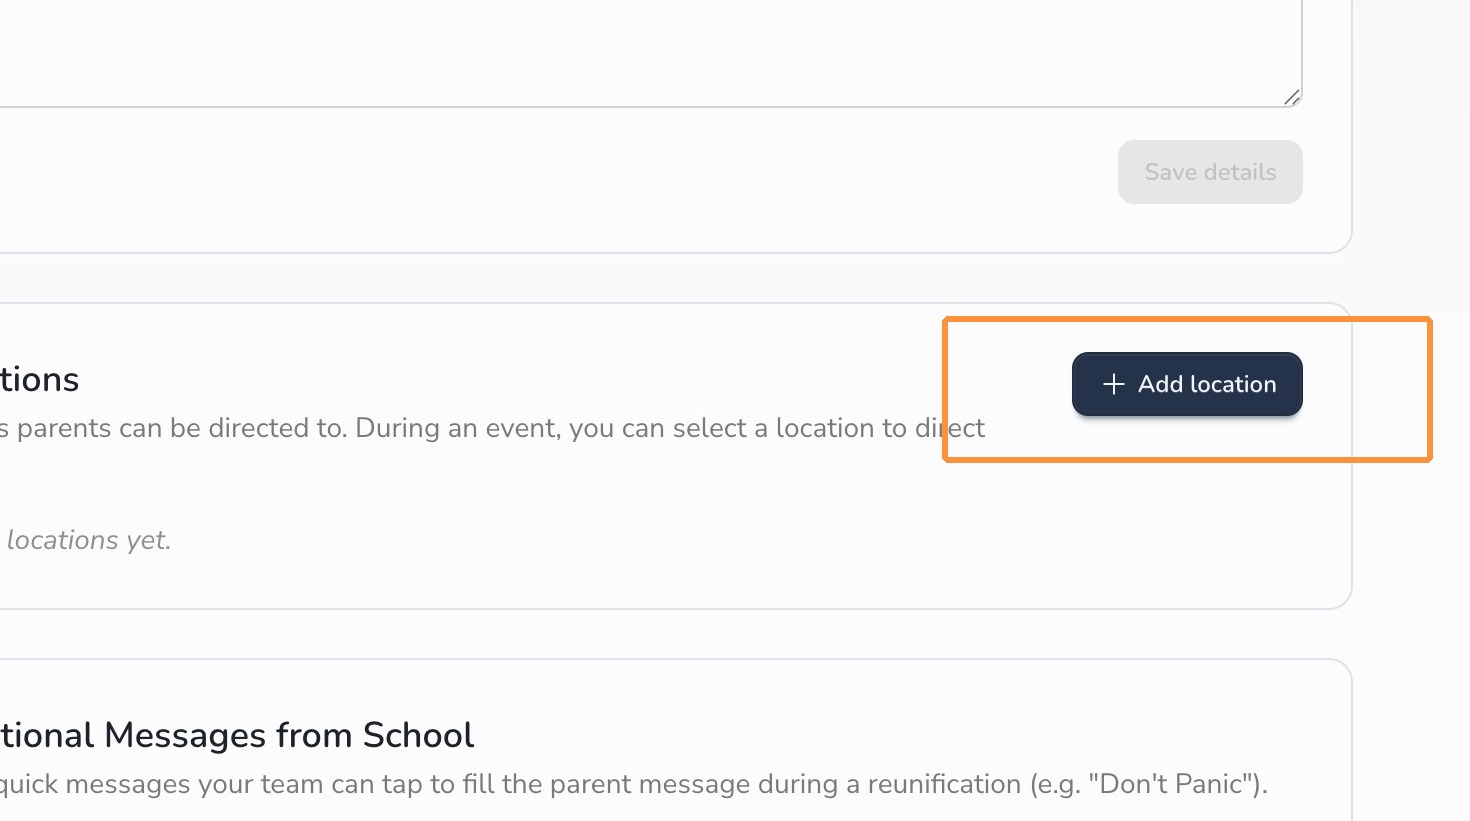
Add your default Reunification locations.
We recommend including:
- Your school’s full address
- Any off-site Reunification locations listed in your emergency plan
- Any alternate locations your district may use during a reunification process
Why this matters: Setting locations up in advance helps staff launch a Reunification Event without searching for an address during a critical moment.
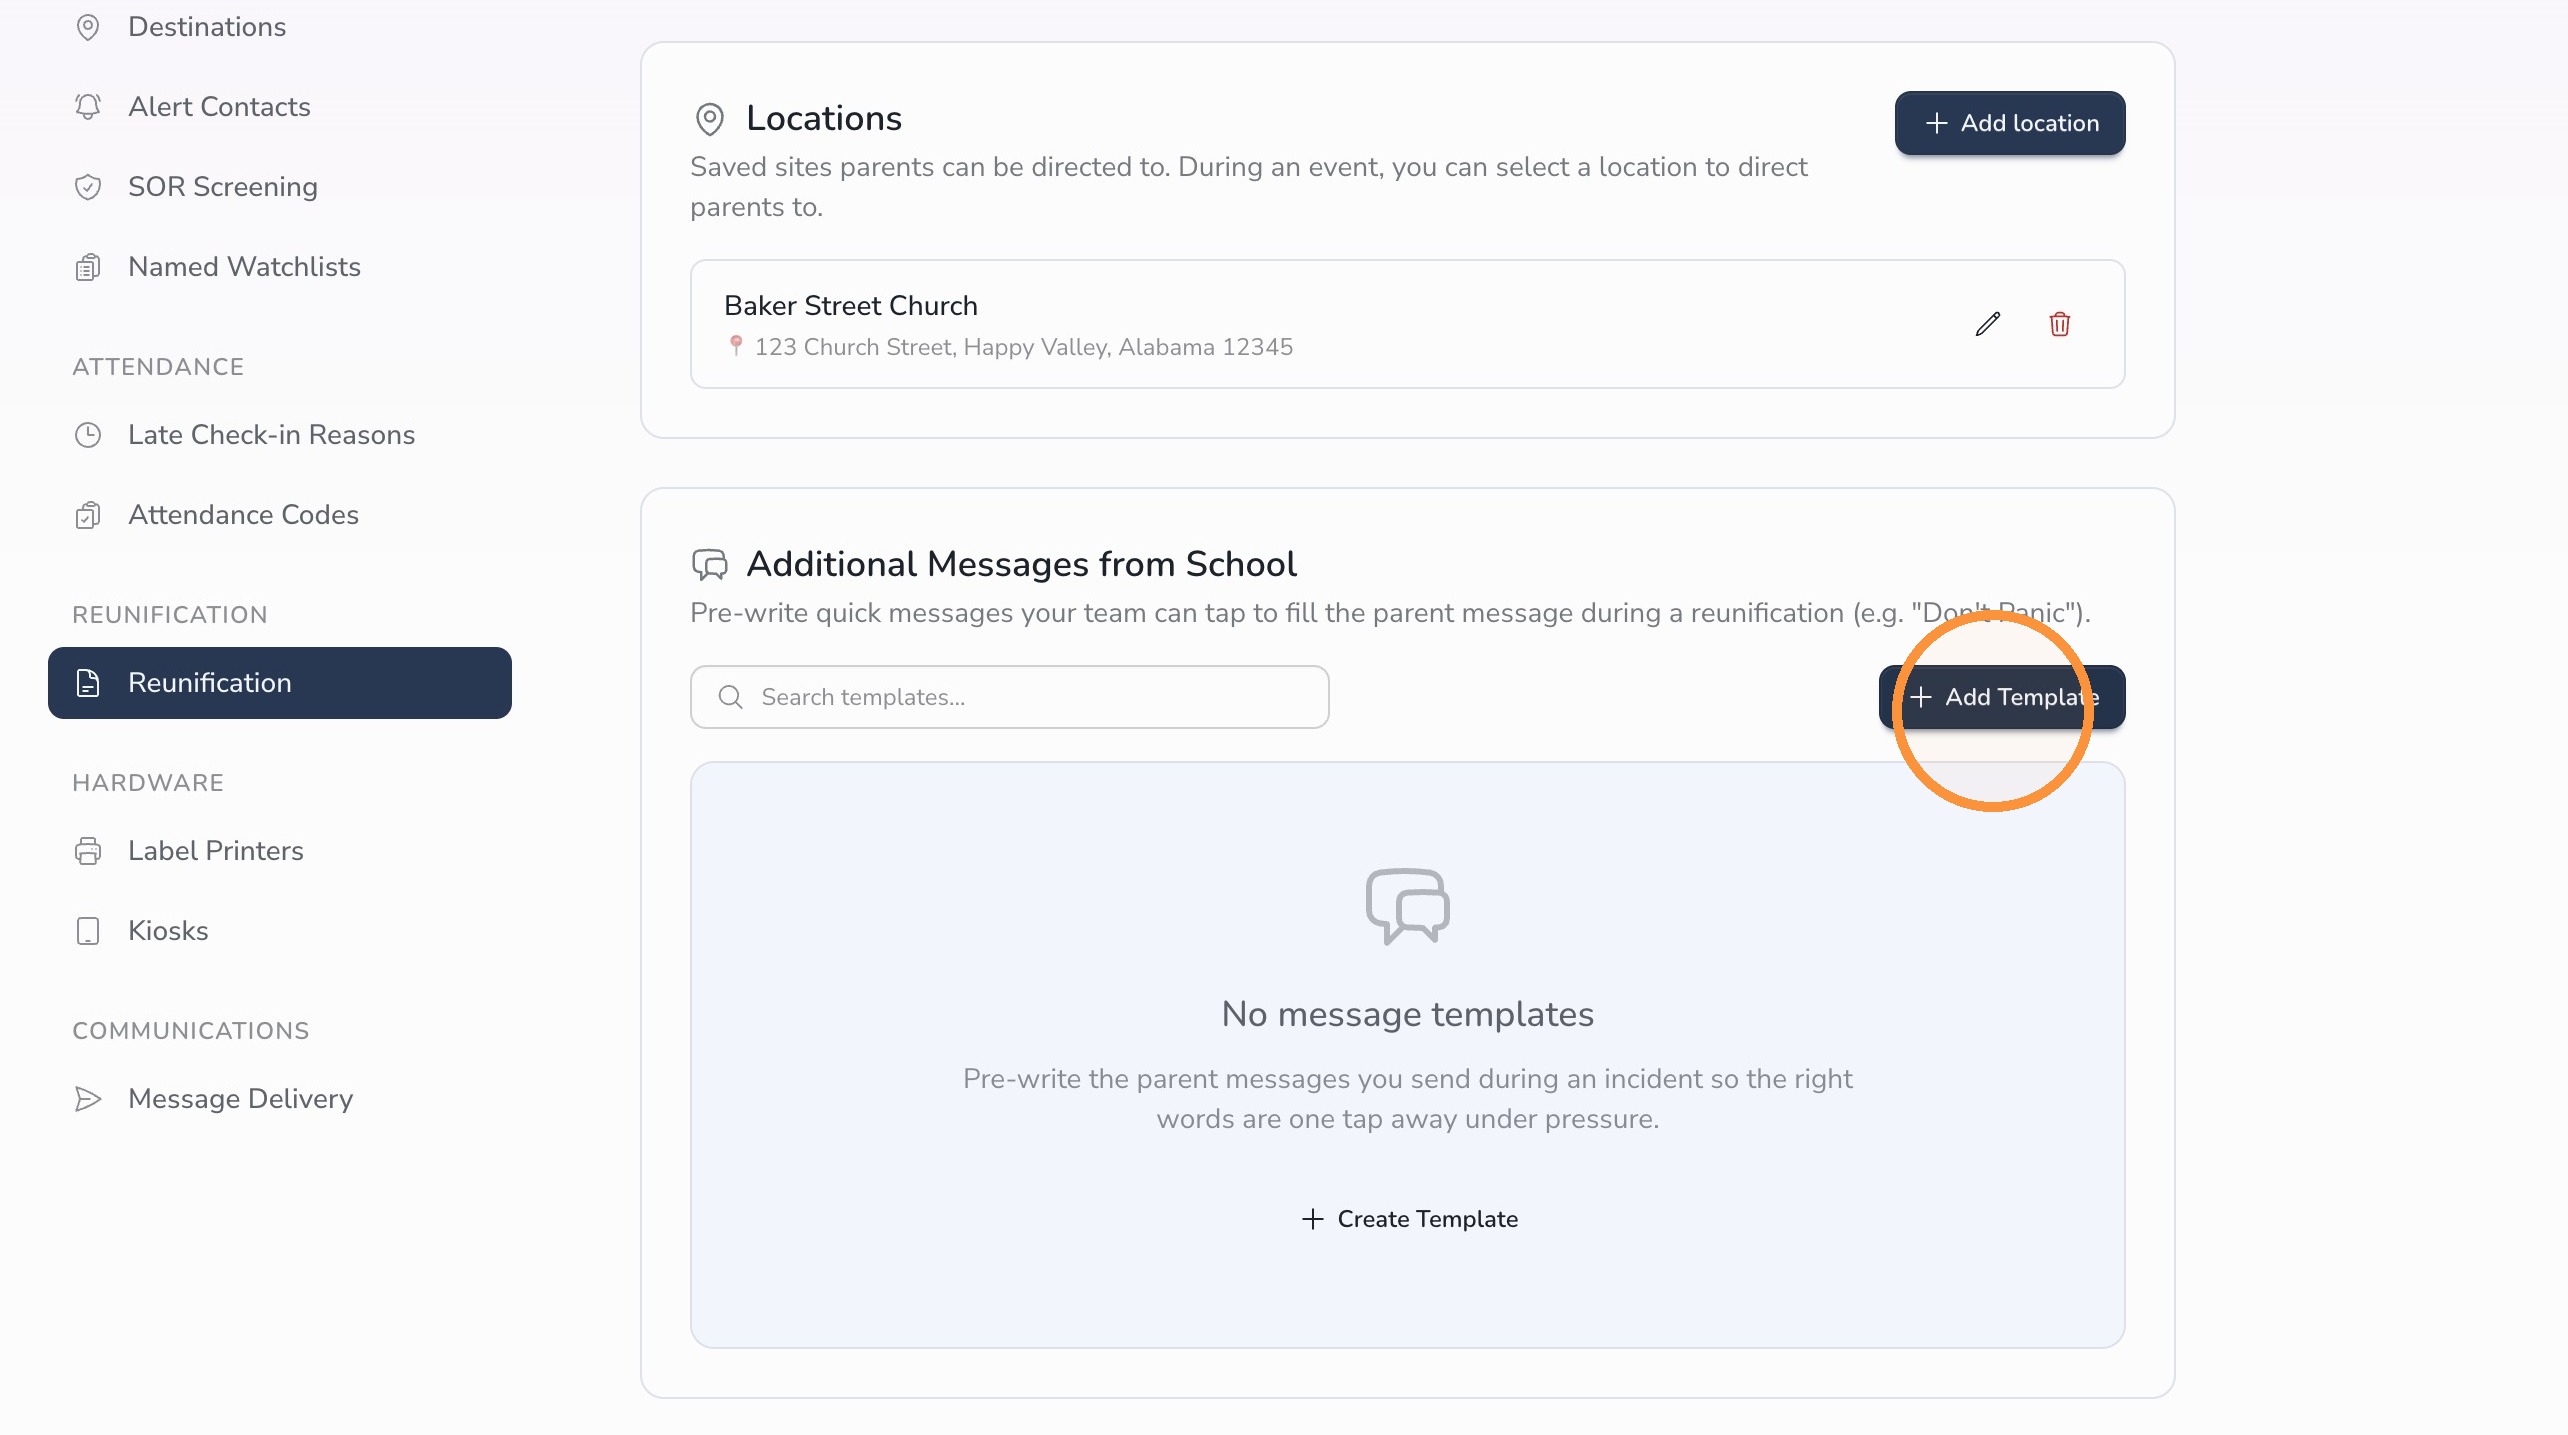
Step 4: Create reusable message templates
The Additional Messages section lets your school create reusable messages for staff and parents when publishing a Reunification Event.
In a stressful moment, staff should not need to write a message from scratch. Instead, they can select the appropriate message, review it, and publish.
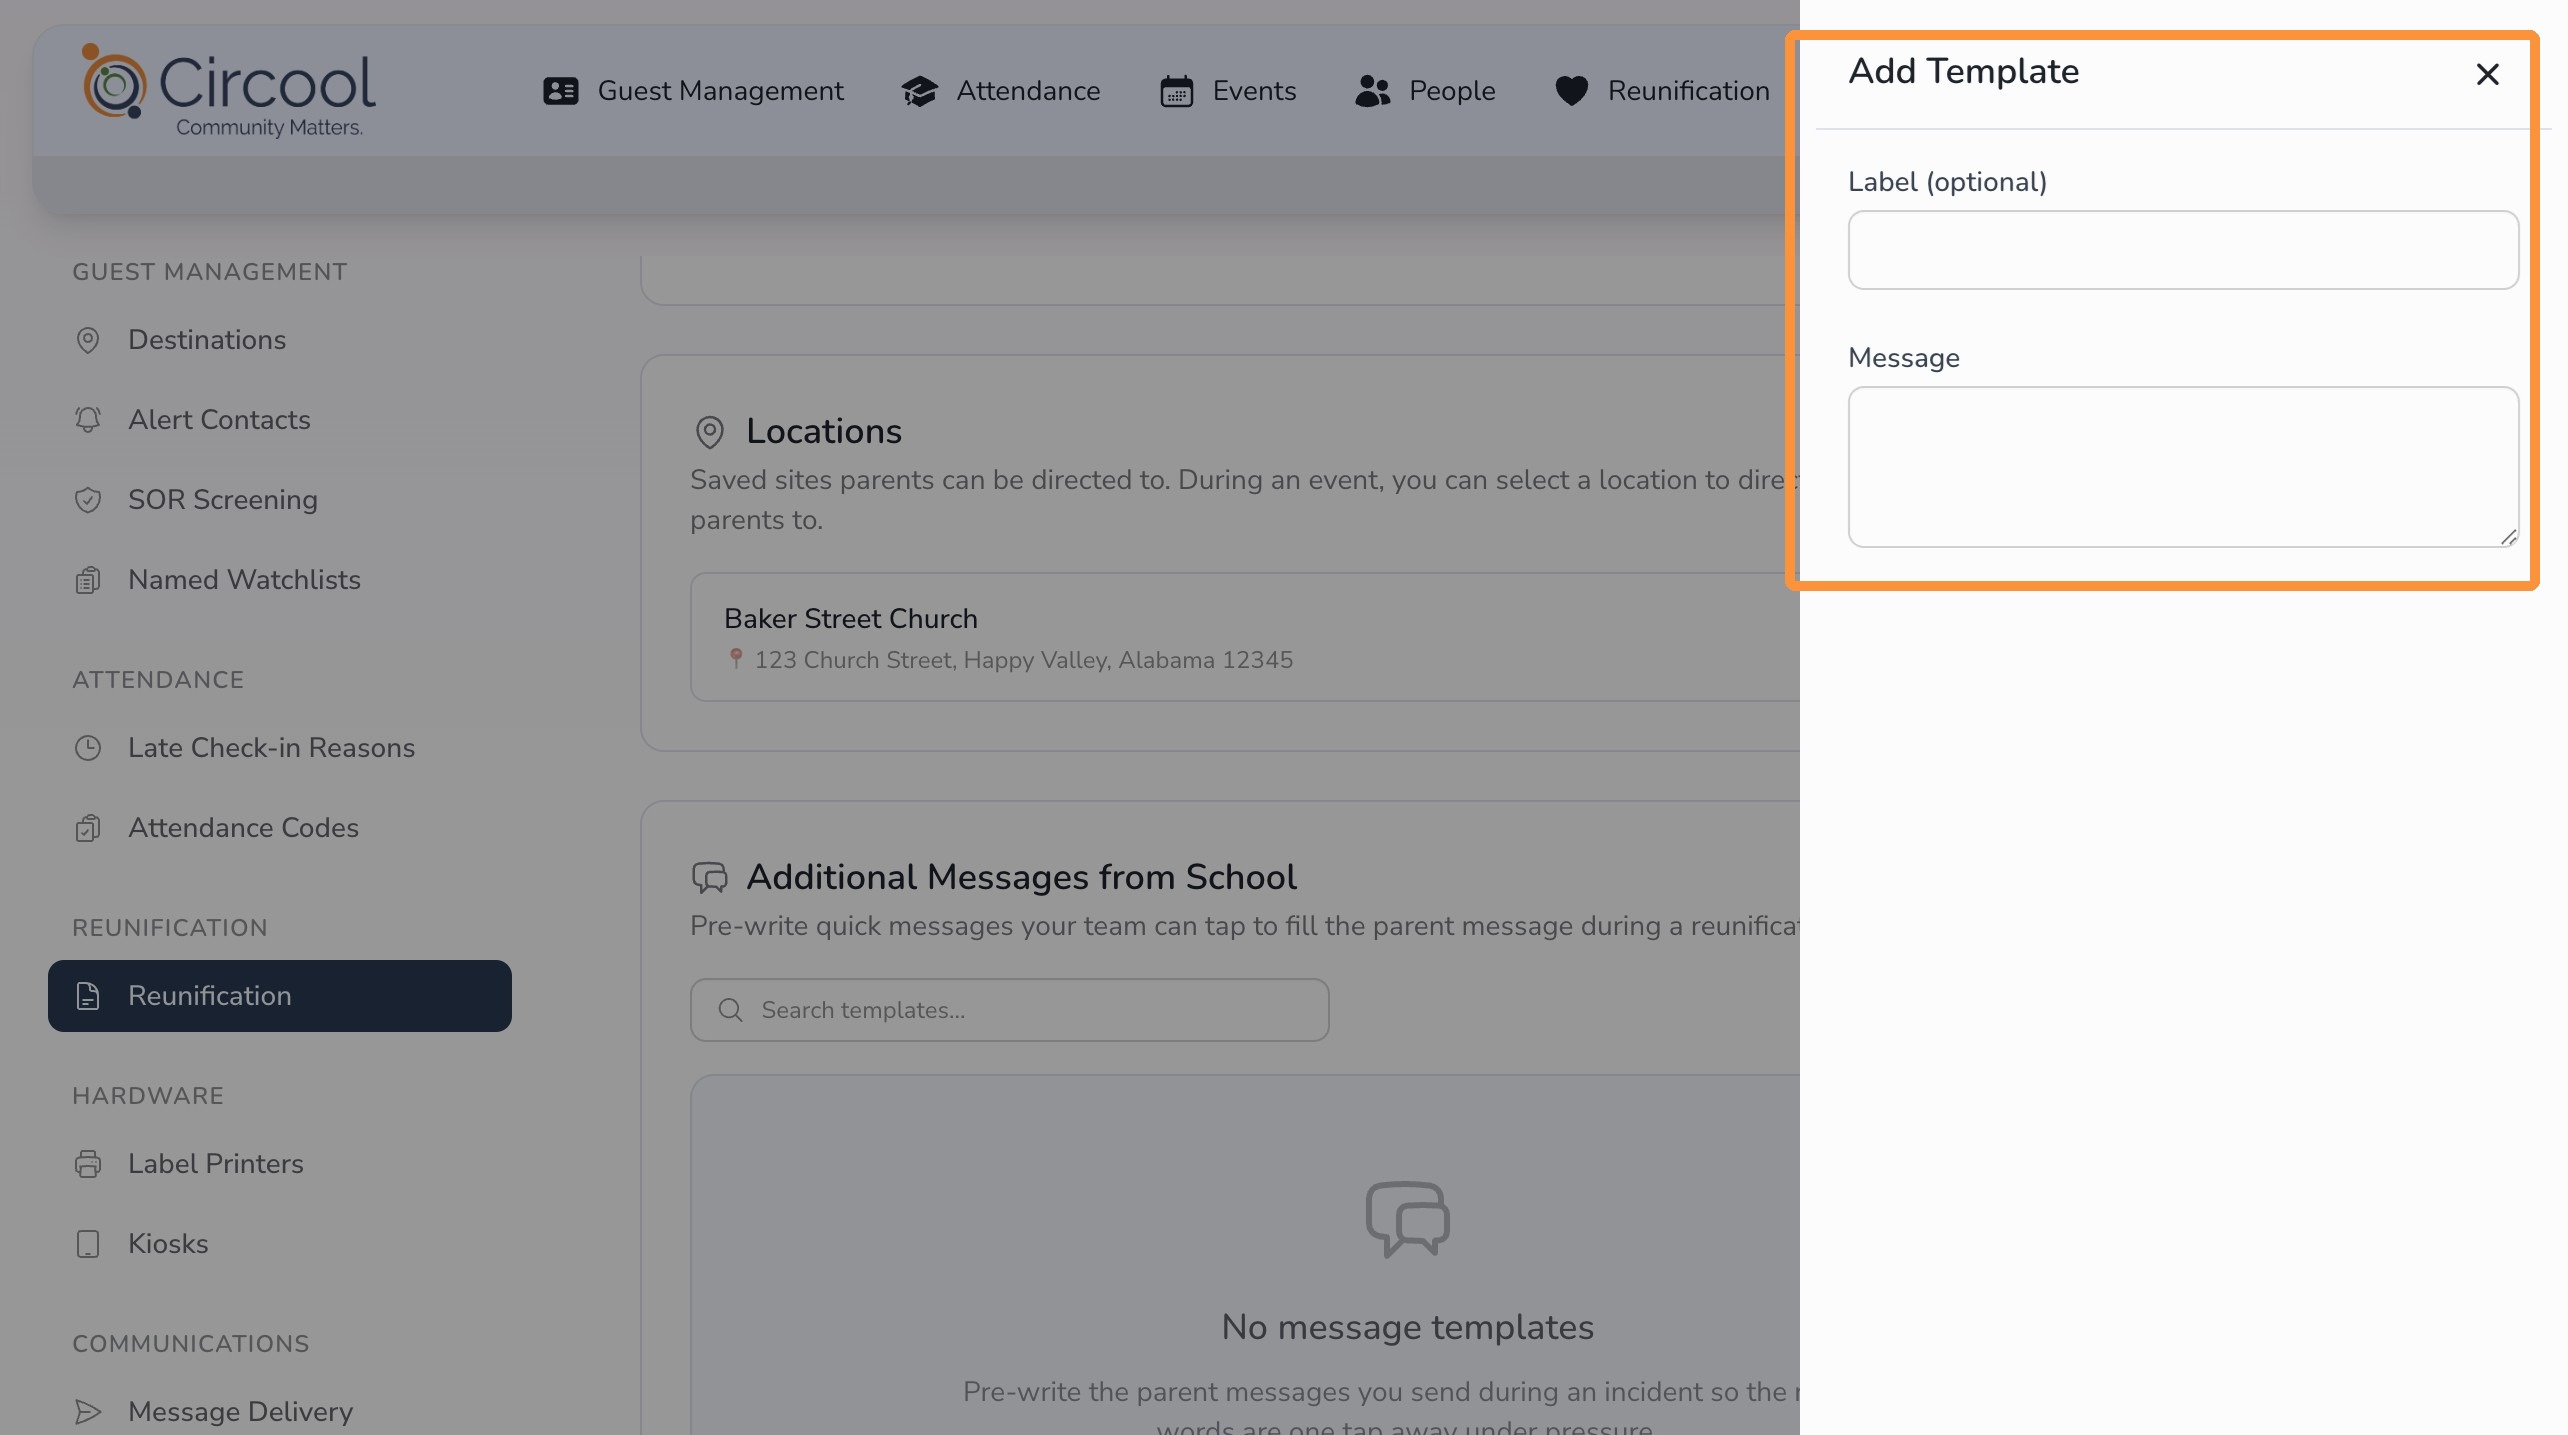
Tip: Create separate templates for drills and active reunification events. This helps your school use calm, accurate wording based on the situation.
Helpful tips
- Set this up before it is needed: Reunification settings are most helpful when they are already in place before a drill or active event.
- Include alternate locations: Add off-site locations from your emergency plan so staff can quickly select the right place.
- Keep messages clear: Use short, direct wording that families and staff can understand quickly.
- Review templates regularly: Update locations and message templates when your emergency plan changes.
- Use drill-specific wording: If the event is a drill, make sure the message clearly says it is a drill and not a real emergency.
What happens next
Once your Reunification settings are configured, staff can use these saved locations and message templates when creating a Reunification Event.
This helps your school move through setup faster and reduces the need to type information during a rushed situation.
That’s it. Reunification settings help your school prepare ahead of time so staff can act quickly and consistently when a Reunification Event needs to be created.
Need help?
Circool support is here to help.
If you need help configuring Reunification settings, adding locations, or creating message templates, contact Circool support by phone at 205.202.1124 or email support@circool.com.
Was this article helpful?
That’s Great!
Thank you for your feedback
Sorry! We couldn't be helpful
Thank you for your feedback
Feedback sent
We appreciate your effort and will try to fix the article